343 Airport Rd.
760-721-5500
Like any precision vehicle, your Mini will occasionally alert you when something’s wrong—and one of the most common indicators is the brake warning light on your dashboard. If you’ve recently seen this light turn on, don’t ignore it. It could signal a minor issue or a serious safety concern that requires immediate attention.
In this blog, we’ll explore the most common reasons why the brake light might be on in your Mini Cooper, how to respond, and why trusting a qualified shop like Oceanside Motorsports for your Mini Cooper repair needs is a smart move.
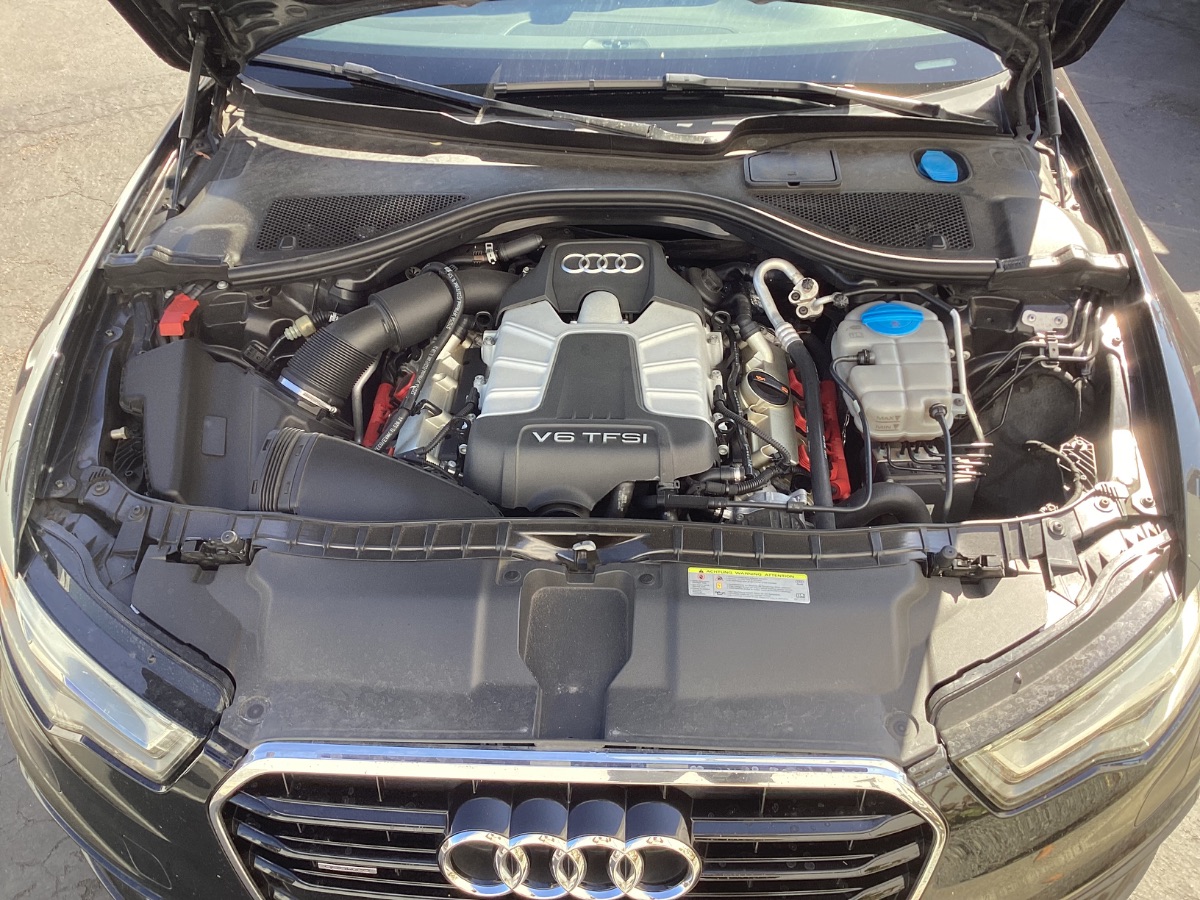
Mini Coopers are equipped with advanced onboard diagnostics that monitor system performance in real time. When the brake light illuminates, it’s not just a casual alert—it’s your vehicle signaling that something may be wrong. There are typically two types of brake warning lights in a Mini Cooper. A red brake warning light usually indicates a critical issue, such as low brake fluid, the parking brake being engaged, or a more serious brake system failure.
A yellow or amber brake light, on the other hand, often points to less urgent concerns like worn brake pads or minor sensor faults. These lights are typically triggered by the vehicle’s wear sensors and suggest that maintenance is needed soon. Regardless of the warning light’s color, if it remains illuminated, it’s essential to schedule a professional brake system diagnostic to ensure your Mini Cooper stays safe and road-ready.
One of the most common reasons your Mini’s brake light turns on is low brake fluid. The brake system relies on hydraulic pressure, and insufficient fluid can reduce braking performance. Low fluid levels are often caused by worn brake pads, which cause the calipers to extend further. Other potential culprits include brake line leaks, air in the lines, or a failing master cylinder.
Mini Coopers use brake pad wear sensors to monitor pad thickness. When the pads get too thin, the system triggers the brake warning light. You may also hear squealing or grinding noises when braking. A pulsating brake pedal and reduced stopping power are further signs that the pads need replacement.
A partially engaged parking brake is a simple but common reason for the brake warning light. Releasing the brake should turn off the light if everything is working correctly. If it stays on, the issue may be a faulty parking brake switch or sensor. This can sometimes mimic more serious problems, so inspection is advised.
The brake light switch near the pedal plays a dual role—activating your brake lights and interacting with the electronic brake system. A malfunctioning switch can cause the warning light to appear even if braking feels normal. You may also notice that the brake lights behave erratically. Replacing the switch is often a straightforward fix.
The ABS and traction control systems in your Mini are closely tied to braking performance. When components like wheel speed sensors or the ABS module fail, the brake warning light may come on alongside the ABS light. Electrical faults or corroded connectors are also common causes. These issues should be addressed promptly, as they affect safety systems.
Sometimes, the brake warning light is caused by a faulty sensor or electrical glitch. Even if braking seems unaffected, the system may be misreporting a problem. Persistent warning lights should never be ignored, even if they appear to be minor. A diagnostic scan will help identify and clear the fault properly.
Ensure the parking brake is fully released, as even slight engagement can trigger the brake warning light. This is one of the simplest checks and often overlooked. If the light turns off after releasing it completely, the issue may be resolved. If not, further inspection is necessary.
If you’re comfortable under the hood, locate the brake fluid reservoir and check the fluid level. Make sure the car is on level ground and the engine is cool before opening the cap. Low fluid can indicate a leak or worn brake pads. Refill only with the recommended brake fluid type for your Mini Cooper.
Listen for any unusual noises like squealing or grinding when you apply the brakes. Feel for changes in the brake pedal, such as softness or pulsation. These symptoms can point to worn components or air in the lines. Noticing these signs early can help prevent more serious damage.
If the brake light is red or braking performance feels compromised, it’s best not to drive. Continuing to operate the vehicle may put you and others at risk. Call for a tow to have your Mini professionally inspected. Safety should always take priority when brake issues arise.
A brake warning light is not something to ignore, especially in a high-performance compact like the Mini Cooper. Whether it’s a simple brake pad replacement or a complex ABS sensor fault, timely service is critical to your safety and your vehicle’s longevity.
At Oceanside Motorsports, we make it easy to keep your Mini in peak condition. Schedule a brake inspection with us today and drive confidently, knowing your vehicle is in expert hands.

LIFETIME OIL CHANGE MEMBERSHIP INCLUDES UP TO 3 OIL CHANGES PER YEAR – FOREVER. BUY THE PACKAGE AND NEVER PAY FOR ANOTHER OIL CHANGE AGAIN!